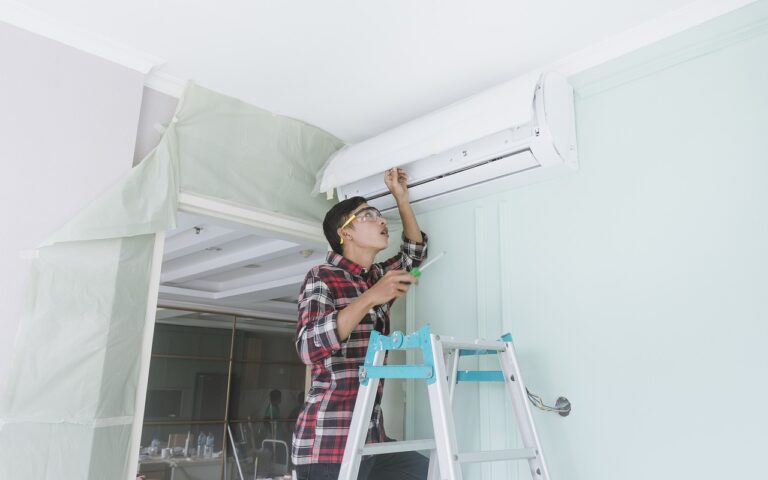

Step-by-Step Guide to DIY Kitchen Exhaust Fan Installation: Laser 247 new id, Lotus365win, Sky247 com login password
laser 247 new id, lotus365win, sky247 com login password: Are you tired of cooking in a hot and stuffy kitchen? Installing a kitchen exhaust fan can help remove heat, steam, and cooking odors, making your cooking experience more pleasant. In this step-by-step guide, we’ll show you how to install a kitchen exhaust fan yourself.
1. Choose the Right Location
Before you start the installation process, you need to determine the best location for your exhaust fan. Ideally, it should be installed near the cooking surface to effectively remove cooking fumes. Make sure there is enough space above the stove for the fan to fit properly.
2. Turn off Power
Safety first! Before you start working on the installation, remember to turn off the power to the kitchen area where you’ll be installing the exhaust fan. This will prevent any accidents or mishaps during the installation process.
3. Mark the Cutout Area
Using a pencil and a measuring tape, mark the area where you’ll be cutting the hole for the exhaust fan. Make sure to follow the manufacturer’s instructions for the correct size of the cutout.
4. Cut the Hole
Carefully cut out the marked area using a jigsaw or a reciprocating saw. Take your time to ensure a clean and precise cut. Make sure to wear safety goggles and gloves during this step.
5. Install Ductwork
Attach the ductwork to the exhaust fan according to the manufacturer’s instructions. Make sure the ductwork is properly sealed to prevent any air leaks.
6. Secure the Fan
Once the ductwork is in place, secure the exhaust fan in the cutout area using screws or brackets. Make sure the fan is level and securely attached to the wall or ceiling.
7. Connect Wiring
Carefully connect the wiring of the exhaust fan to the power source. If you’re not comfortable working with electrical wiring, it’s best to hire a professional electrician to do this step for you.
8. Test the Fan
Before you finish up the installation, test the exhaust fan to make sure it’s working properly. Turn on the fan and listen for any strange noises or vibrations. Make sure it’s effectively removing cooking fumes.
9. Seal Gaps
Finally, seal any gaps around the exhaust fan using caulk or weather-stripping. This will prevent any air leaks and ensure the fan is working efficiently.
Now that you’ve successfully installed your kitchen exhaust fan, you can enjoy cooking in a clean and well-ventilated kitchen. Say goodbye to lingering cooking odors and hello to a more comfortable cooking experience.
FAQs
Q: Can I install a kitchen exhaust fan myself?
A: Yes, you can install a kitchen exhaust fan yourself if you’re comfortable working with tools and following instructions. However, if you’re unsure about any part of the installation process, it’s best to consult a professional.
Q: How long does it take to install a kitchen exhaust fan?
A: The installation time can vary depending on your experience level and the complexity of the installation. It can take anywhere from a few hours to a full day to complete the installation.
Q: Do I need to clean the exhaust fan regularly?
A: Yes, it’s important to clean the exhaust fan regularly to ensure it’s working efficiently. Remove the fan cover and clean any dust or debris that may have accumulated inside the fan. This will help prolong the life of the fan and maintain optimal performance.